DIY Quilted Velvet Pillow
Not only is velvet trending right now, but it’s perfect for the holidays, even when it comes to decor! Something about velvet makes my home feel cozy, and the soft fabric makes them comfortable to lean on.
Whether you are new to sewing or an experienced sewer, you can learn how to make a throw pillow sewing to dress up the appearance of your home. The most basic pillows can be the easiest to construct, or you can challenge yourself and make throw pillows with a fringed edge or zippered opening.
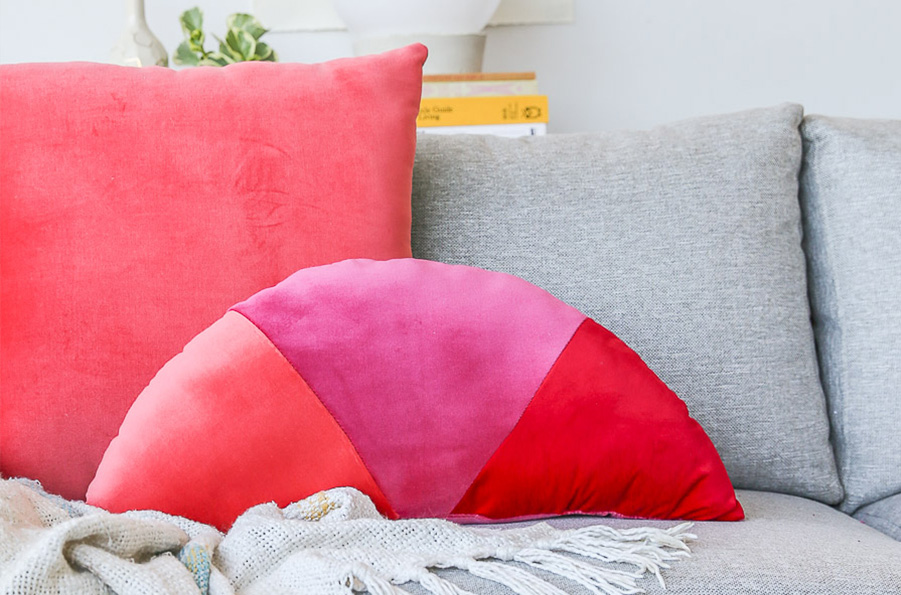
I’ve been wanting some bright new pillows anyway – just something to break up the neutral-ness of the couch a bit, that I can change out whenever I get bored. And these velvet color-blocked cushions are doing the trick! But if you’re not a velvet fan, you can switch it out for a different fabric just as easily.
Do you guys love a cushion as much as I do? Here’s what you’ll need to make your velvet pillows at home…
Materials + tools.
- Sewing machine
- 1/2 yard in fabric total
- Spools of thread in colors that match your fabric
- Sharp cloth Scissors
- Straight pins
- Sewing chalk
- 12-20 ounces of the poly filling (pillow stuffing)
- Wooden dowel (to poke filling into pillow corners)
Quick notes: When color blocking your pillows, a half yard would be the total amount. So, with 2 colors you’d have a quarter yard of each color, etc.
STEP 1

papernstitchblog.com
- Create a template using a large piece of paper or poster board. If you want to create a half-circle shape, like mine, start by determining the base length (bottom of pillow) and then using two pencils and string (as shown in the photo) to create a half-circle shape that will be even on both sides.
- Cut out the template and then trace and cut a second template that matched the first, for the back of the pillow. I added an extra inch to the bottom of the back-pillow template, just to be on the safe side, in case you want to do that as well. Now, cut the first template into three ‘slices’, as shown.
- Trace the templates onto the wrong side of your velvet fabric and cut out, each shape individually. That should give you 4 pieces of fabric – one for the back of the pillow and three pieces for the front.
STEP 2
papernstitchblog.com
- Take your three pieces for the front of the pillow, arrange them as they will look when sewn together, with right sides facing up.
- Then, starting with the piece of fabric on the right, flip it over on top of the middle piece and pin them together on the right edge. Next, with the left piece of fabric, flip it over on top of the middle piece as well and pin those 2 pieces together on the left edge.
- Then, sew a straight line down both edges that are pinned, being sure to backstitch at the beginning and end of each edge. Remove pins and you’ll have the front of your pillow.
- Now, you’re ready to add the back. Pin the two pieces together, right sides facing in (the wrong side facing up). Then sew all the way around, minus a wrist width gap so you can turn it inside out and add filling later, again backstitch at the beginning and end.
- Turn inside out and iron (on low heat setting) with a towel protecting the velvet surface from direct heat. Add filling to stuff the pillow to your liking, using a wooden dowel to poke the corners with filling as necessary. Hand stitch the opening closed and you’re done.
SHOP BED SHEETS
SIGN UP
Be the first to know about our best deals!


Leave a Reply